Moving your household to a new residence is already a stressful event on its own, but add packing the kitchen into the mix, and you’re sure to be stressed out even more. But fear not! With just a few tips from our blog post, you’ll be able to pack your kitchen like a pro in no time at all!
Boxes and Other Supplies
To pack a kitchen for moving, you will need a variety of boxes. These can be found at moving retailers or home improvement centers, depending on the size of your kitchen.
- Large boxes are best for lightweight, hard-to-pack items such as plastic kitchenware, dish racks, small appliances, baking tins.
- Medium boxes are best for heavier items such as small appliances, pantry items, pots and pans, silverware, contents of drawers, cookbooks.
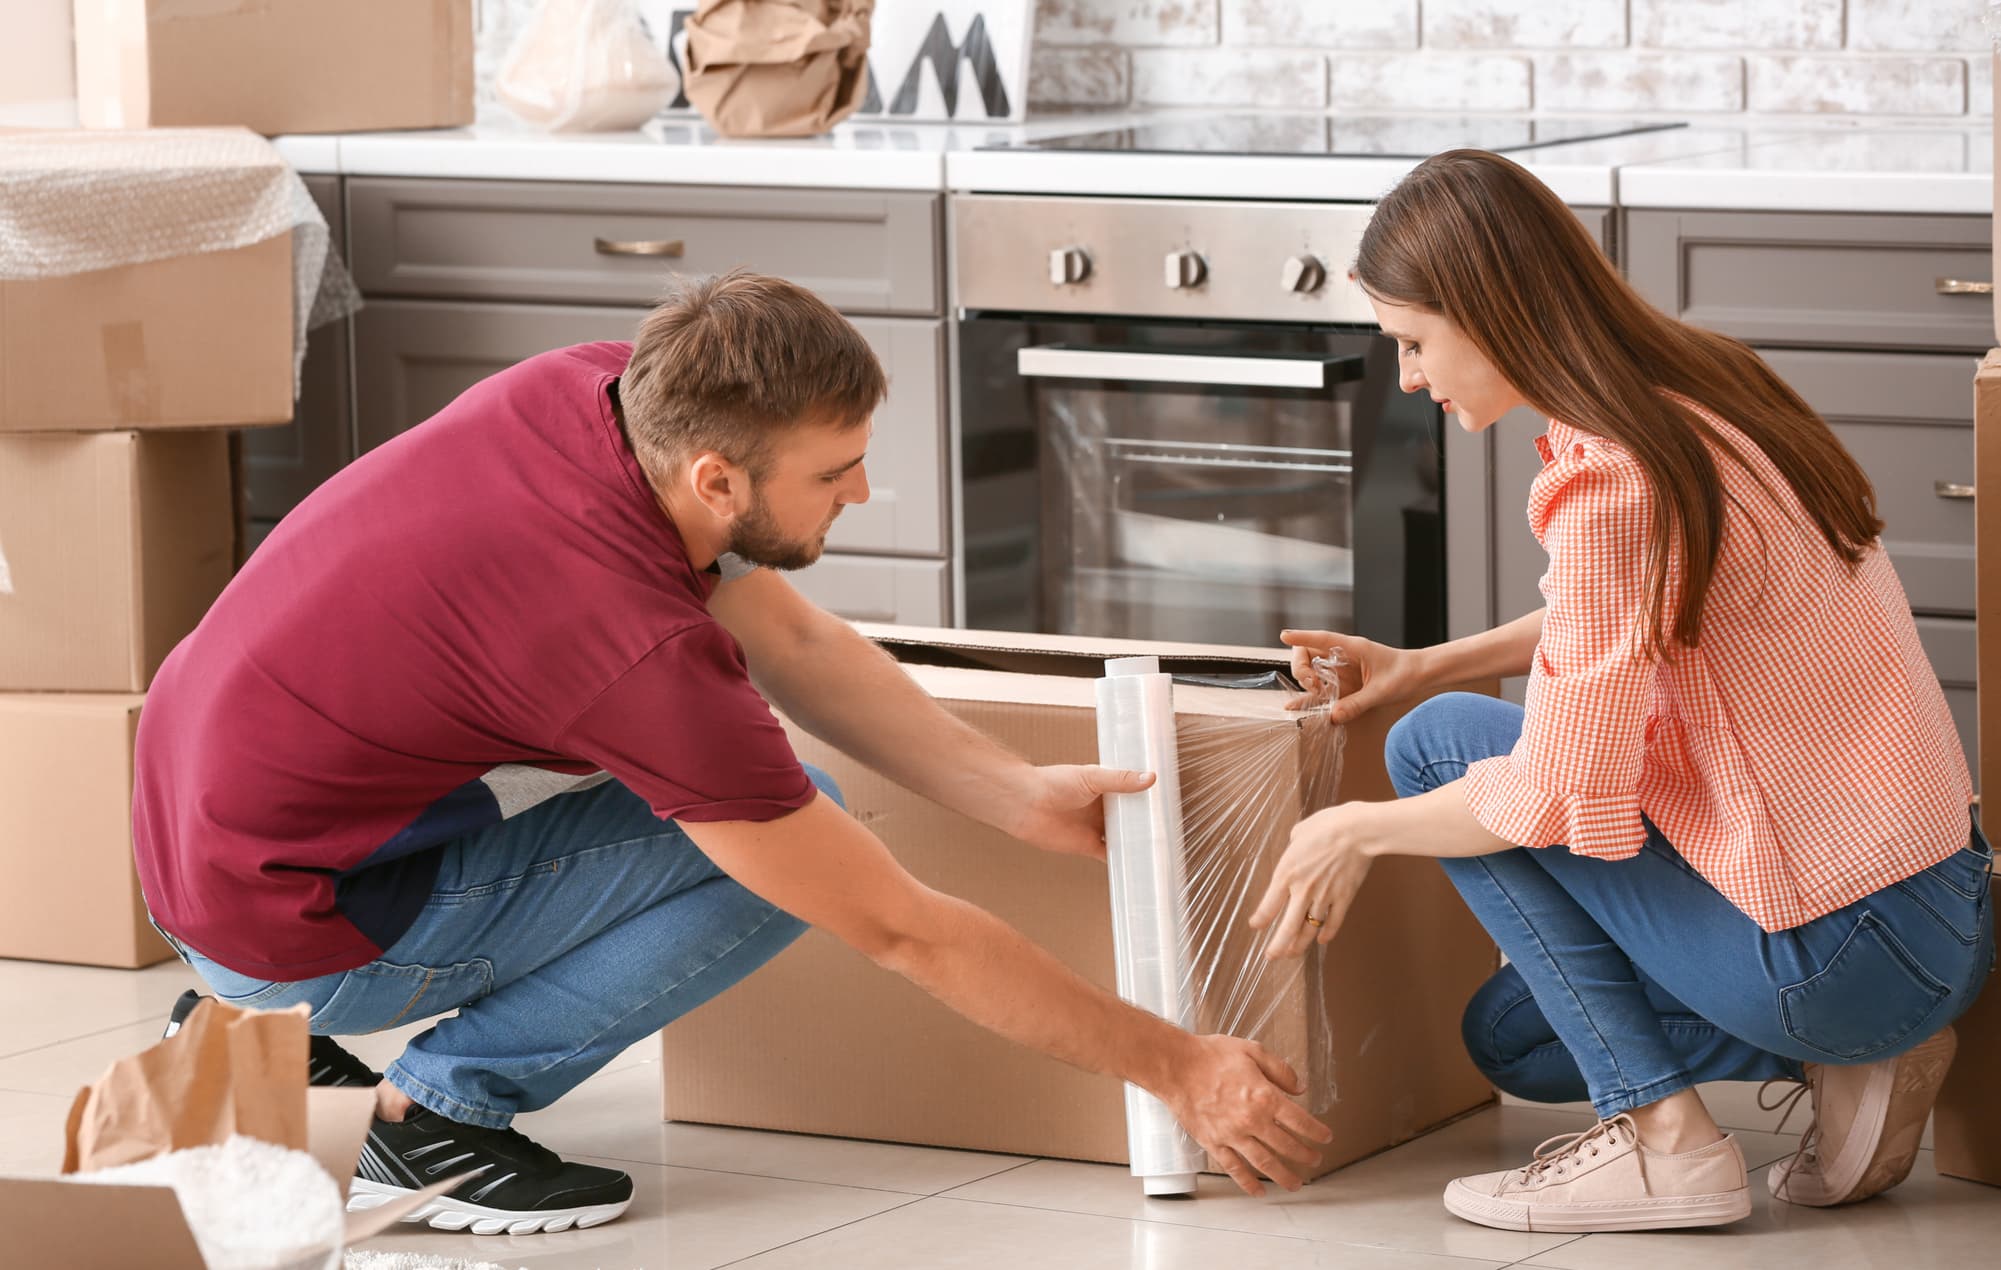
- Heavy-duty boxes have thick, double-walls, perfect for packing fragile items, such as plates, glasses, stemware, wine, and canisters.
- Unprinted news-wrap paper will help you pack fragile items, including food items, small appliances. Purchase a 4- to 5 -lb. bundle.
- Cell kits are extremely useful for packing glasses, stemware, wine, and liquor bottles. They can also be used to pack figurines, vases, and canisters. Check the sizes of your cell kits to ensure they’ll fit into the boxes you have.
- Packing/sealing tape and labels can be purchased in bulk, as you’ll need it for packing all your rooms.
Let's get started!
01. Sort, Select, and Simplify
Before you pack your kitchen for moving, it’s important to take a few steps to make the move go as smoothly as possible. First, make a list of the items you’re taking with you. Next, select the items you’ll be leaving behind. Make sure you have designated “homes” for everything on your list- don’t leave anything behind in the rush! Finally, make sure you’re not packing any unnecessary items- if something isn’t going to fit in your new kitchen, don’t bring it! This will help keep your moving experience as stress-free as possible.
02. Prepare an “Must-Have Box”
When you’re packing for a move, it’s important to take into account what you’ll need for the first two days in your new home and the last two days in your old home. Include dishes, cutlery, food items, appliances (coffee maker/toaster), and anything else you might need during that time. Make sure you have enough room in your boxes, too – you don’t want to waste time unpacking when you only have a limited amount of time before your move is scheduled.
03. Collect Packing Materials
When packing for a move, it is best to have all of your packing materials ready. You’ll need the following items:
- 5 Large boxes (18 x 18 x 24)
- 10 Medium boxes (18 x 18 x 16)
- 5 Heavy-duty boxes (18 x 18 x 28)
- Unprinted news-wrap paper (4 to 5 lbs.)
- 5 to 10 cell kits (18 x 18)
- Packing/sealing tape
- Labels
- Markers
- Tape dispenser
TIP: Use unprinted news-wrap paper. It’s the best packing material because it doesn’t have any ink to rub off on your belongings.
04. Pack Items Not Frequently Used
Start by packing any items in your cupboards and drawers that you don’t use on a daily basis. These can include:
- Vases, crystal
- Food storage containers
- Wine glasses
- Mixing bowls
- Cookie sheets, pie pans, etc.
- Small appliances, such as mixers, blenders, etc.
- Cookbooks
- Extra dish towels, dishcloths, and oven mitts
- Special utensils, such as barbecue tongs, meat mallets, ladles, and spatulas, etc.
- Special-event dishes
- Pictures and wall hangings
05. Pack Unopened Bottles
Pack wine and alcohol bottles at the beginning of the packing process. Select the bottles you plan on opening between now and the move, and pack everything else.
You may also want to pack bottles of cooking oils, and other specialty oils or vinegar that are in a sealed glass bottle.
Don’t forget to ask yourself if the weight of an item is worth the cost for you to move it. For expensive items such as aged olive oils, balsamic vinegar, or truffle oil, it may be worth moving. For many items, though, it might be more efficient to buy new bottles once you reach your new home.
06. Pack the Drawers and Shelves
Whether you’re packing for a local mode or a long distance move, it’s important to start with the messiest drawer. Get rid of extra items or items you no longer use. TIP: If you haven’t used it in the last six months, don’t move it. This will make packing your kitchen much easier and less stressful.
It’s important to pack the cutlery drawer. You don’t want to have to scramble to find a knife when you need it. Keep one set of knives per family member in your “MUST-HAVE BOX”. This way, everything will be ready when you arrive.
Don’t forget to pack your cookbooks – they’ll come in handy when you start cooking from scratch in your new home! Remember to pack books flat and stack them according to preference- keep the books that are used most often on the bottom.
07. Pack Dishes
Start by assembling the cell boxes for your glasses and stemware. Take your time with this step, ensuring items are packed well. This is also the time to pack plates and bowls, and any odds and ends.
08. Pack the Pots and Pans
Make sure to include at least one all-purpose pot for your “MUST-HAVE BOX”. This will come in handy for cooking. You can pack the rest of your kitchen supplies, including lids and crockery.
09. Pack the Pantry
Firstly, you should have sorted the pantry by now and you should only be left with items that you want to move. Now start sorting from the spices on and work your way up. Canned food typically weighs a lot, but is it worth moving? Tape up opened food packages, and get rid of all perishables.
10. Prepare the Appliances
It’s important to take the time to properly prepare your appliances. Doing this at least 24 hours in advance can help prevent gas leaks, broken parts, and appliances that won’t work. Here are some tips on how to do it:
- Disconnect all gas and electrical lines from the appliance.
- Dishwasher units need to be emptied and the utensil holder/rack removed and packed separately.
- Unplug each unit and secure the plug to the back using packing tape. Don’t let cords dangle or come loose.
- The refrigerator should be unplugged at least 24 hours prior to the move.
- Label each wire with a marker or tape so that you can reconnect them correctly when you’re finished.
- The stove should be thoroughly cleaned inside and out with the racks removed or securely fastened.